


Today I'm going to talk to you about our beautiful table lamp. I had been enchanted by seaglass bottle lamps for years, but couldn't bring myself to pay the money for them. Those things are EXPENSIVE! Take a look at the pretty pricey pieces (click on the photos to view source):


Side note: Can someone please tell me why table lamps are so.dang.expensive?! Moving on.
I obviously wasn't going to fork over $100-500 for any of those lamps, so it crossed my mind briefly to try to make one using a glass bottle. That dream was dashed quickly: anything I found was either too cheap-looking, too small, too expensive, or all 3. I set my desire for a glass lamp aside and moved on with my life. Couldn't do it: Case closed.
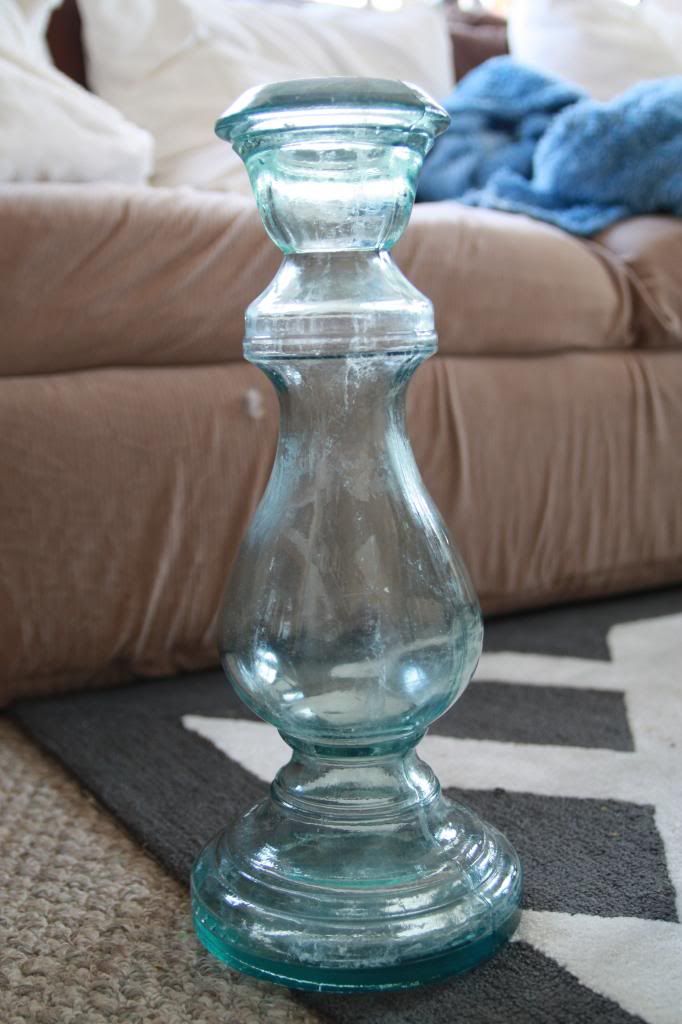
However! Almost a year later, it was in the candle aisle of World Market where I was struck with a new kind of inspiration: pillar candle holders! There were tons to choose from, including a delightful sea-glass color in three different heights. I chose the medium-sized one, which was twenty bucks. That, plus a $10 lamp kit from the hardware store and a shade I already had, was a price I could handle.
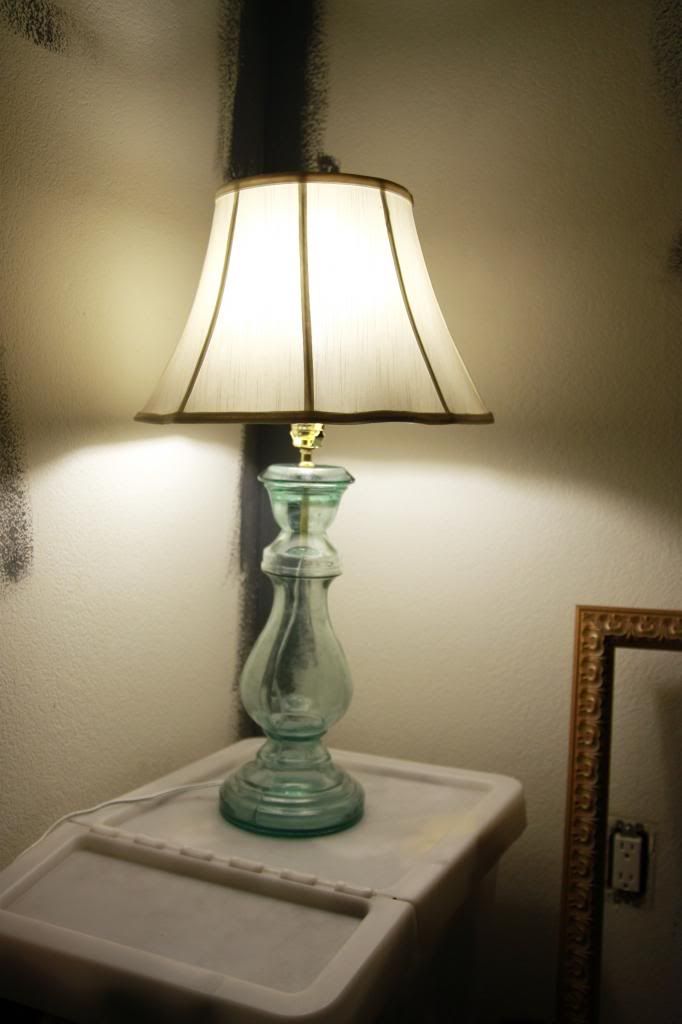 |
| back when our wall was only partially painted |
This tutorial is long, but I promise you it's easy as pie. Easier. Pie is actually not that easy.
To do something similar, you will need:

*this may go without saying but I'll say it anyway: if your lamp kit is a harp kit, then you'll need a harp shade. If your kit does not have a harp, you'll need the kind of shade that sits below the bulb.
**Optional. If you use this, you will also need a sink/water source, masking tape, a pen, and a drill.
***I
ended up painting my cord with acrylic paint since the standard brown
color was ugly. DON'T SPRAY PAINT IT, the paint will NEVER cure. Step 1: Drill a hole through glass
We debated french-wiring our lamp {having the cord sticking out from underneath the bulb}, but ultimately decided that we liked the look of the cord threaded through the glass. Because of this, we needed to drill a hole in the bottom for the cord to escape. Here's the bit we used:
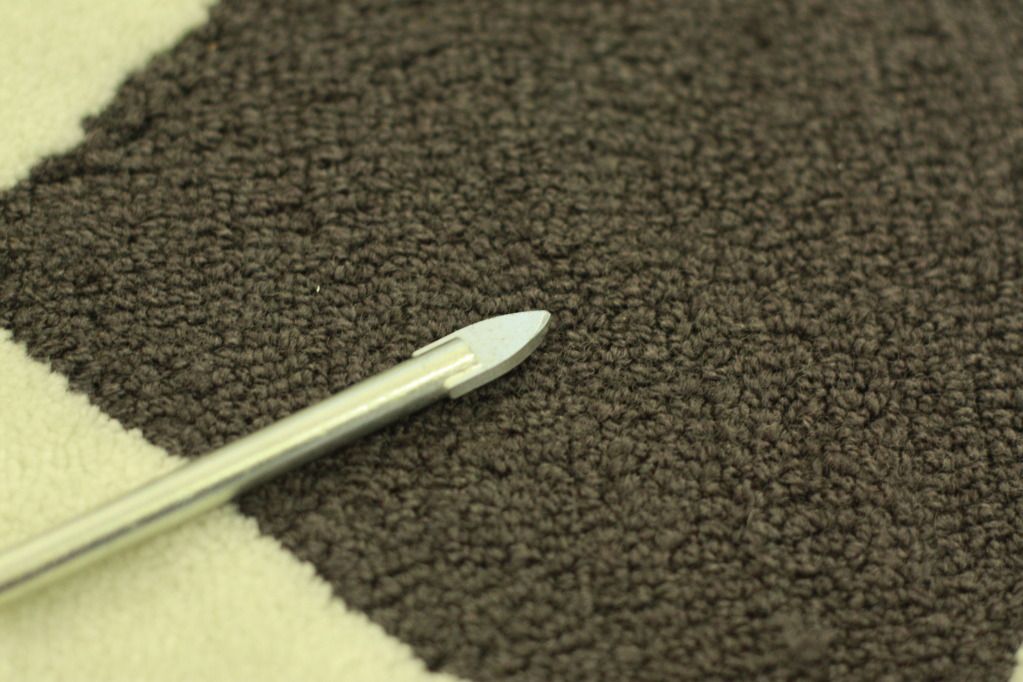
It's a glass and tile bit, and it bores a hole by slowly scraping "layers" of glass off. {doesn't it look like a little arrowhead? So cute}. This size cost us about 10 bucks, but I already have other projects planned for this puppy, so the cost was "justified".
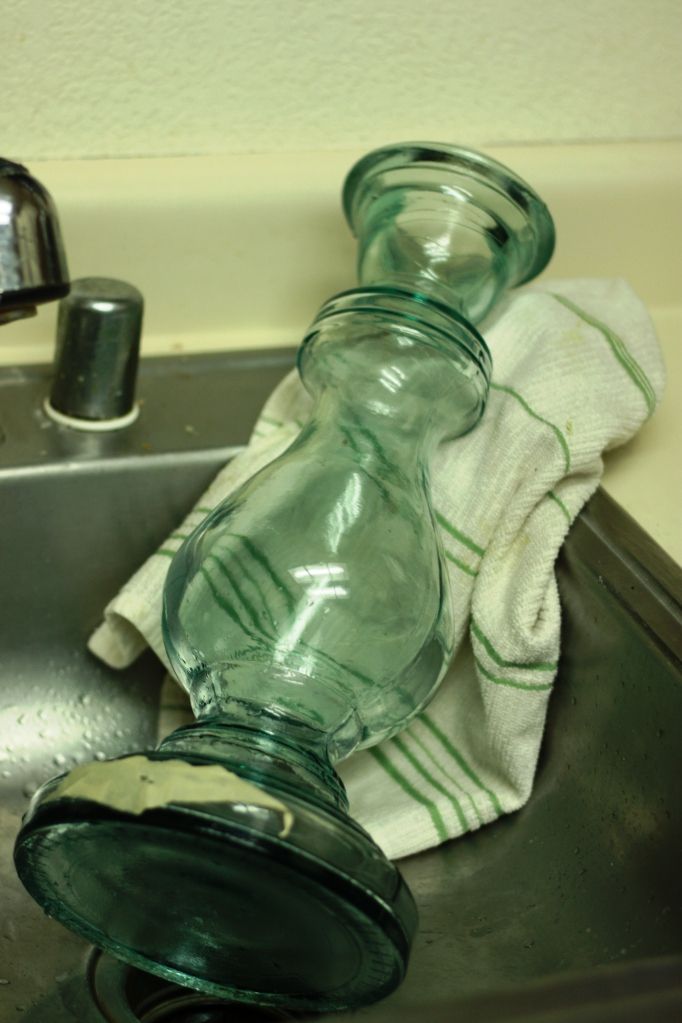
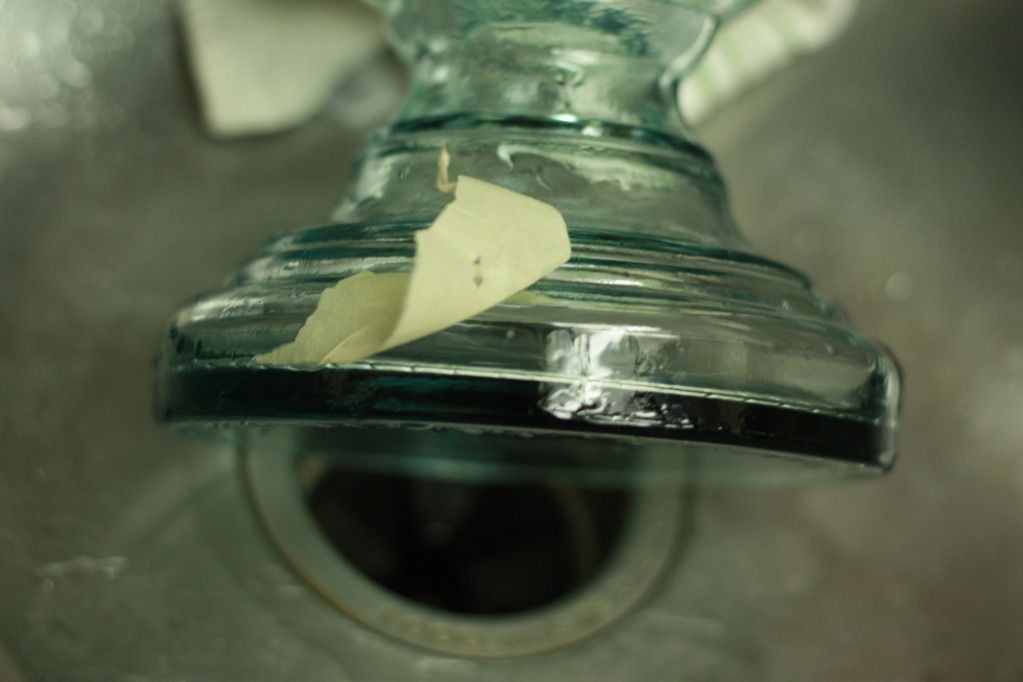
This was our setup. Decide where you want your cord to escape and cover it with a little tape (This helps keep your bit in one place when you begin so you don't scratch the glass). Mark your spot, and start drilling!

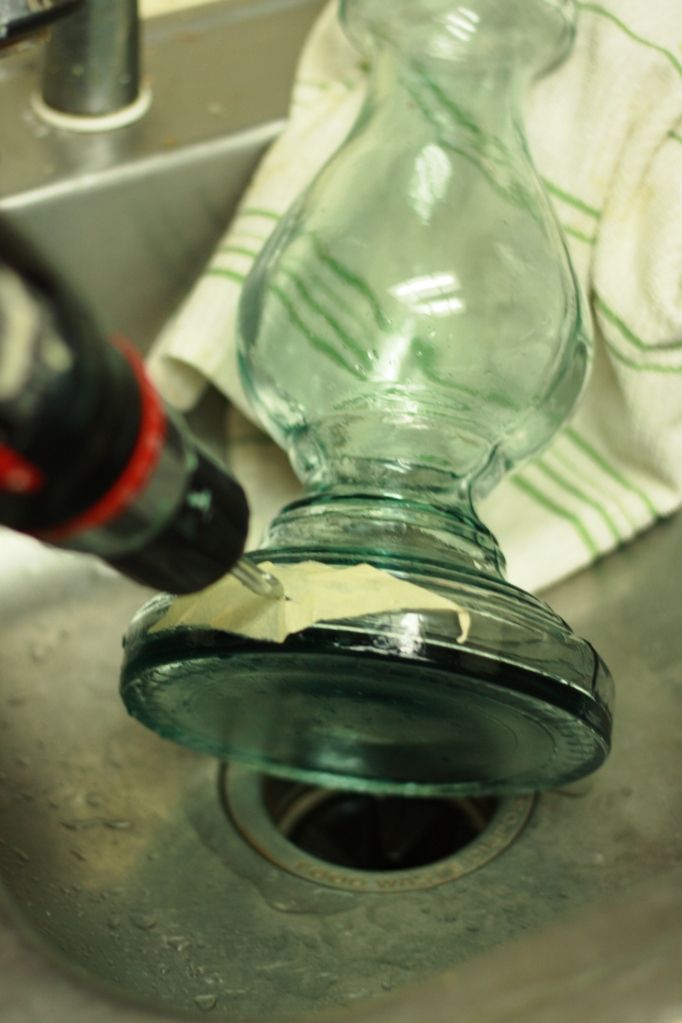
After a few moments, wet the entire area with water. This will reduce friction on the glass as well as contain the glass dust, which isn't good to inhale. It also clears stuff away so you can see how far you have to go.
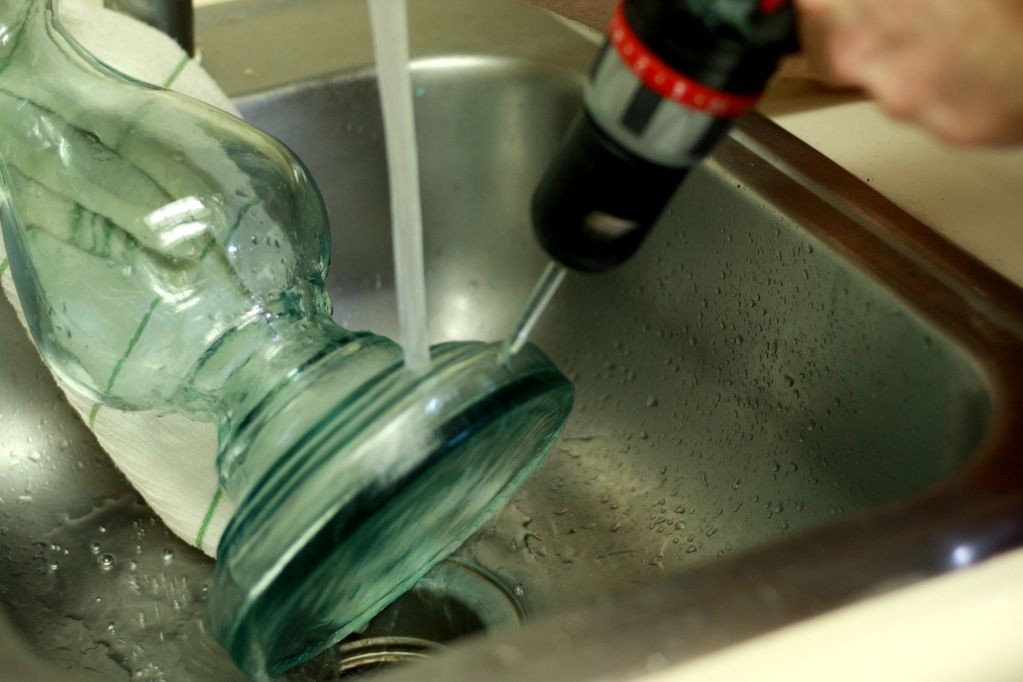
I started on a low speed but pumped it up a little once I got comfortable. The key is keeping the area damp and DO NOT APPLY TOO MUCH PRESSURE, otherwise the glass will crack.
The man at the hardware store assured me that if the glass cracked, it would only form "star-fractures" rather than actual huge shattering cracks if something went wrong, though, so keep that in mind. If you're worried about cracking, apply a piece of duct tape rather than masking tape, and it should withstand the water.
That up there? That was the teeny hole I had after a minute of drilling.The process is a long one (it took us about 20-30 minutes), but it's simple. I did have to change batteries on the drill twice and take turns with Tim because our hands kept cramping up. But anyway.
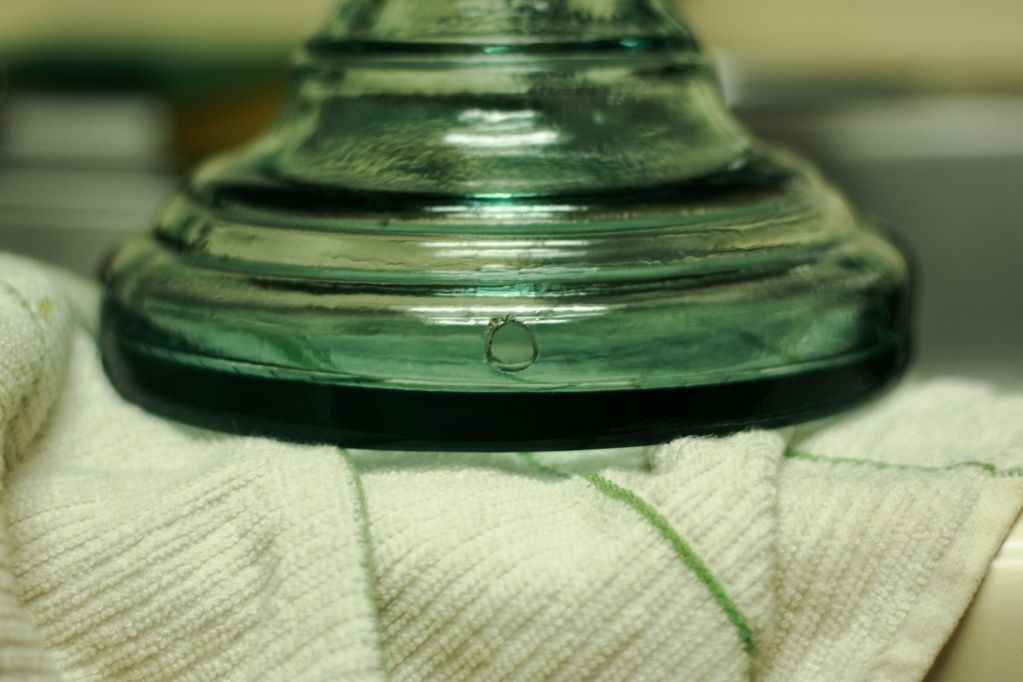
I drilled on a spot that wasn't very flat, so there was some chipping, but nothing a little silicone can't fix. Now you have an "almost perfect" hole, and you're ready to wire your lamp!
Step 2: Creating a stable surface for your lamp kit
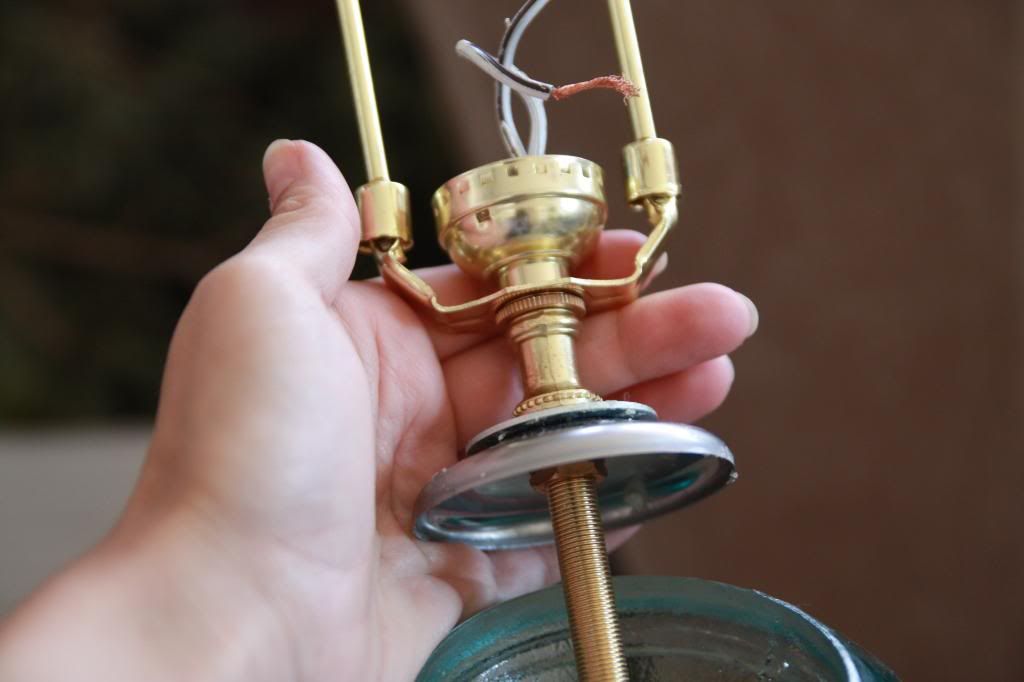
Our candlestick had a wide opening that went all the way down the stick, so we needed to create a stable surface for the lampshade and bulb to rest on.

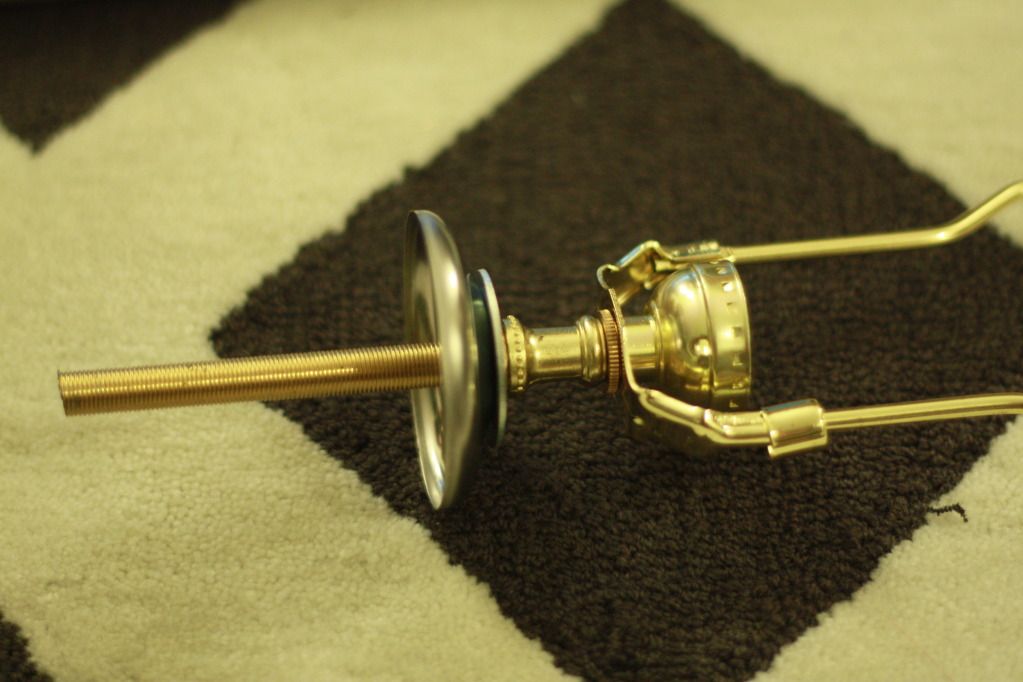

I then dabbed a little glue to the edges of the pipe cover and placed it on the lamp. Make sure to thread the wire through the lamp and pipe before you glue it, or it will be impossible to get through after the glue is dried :)
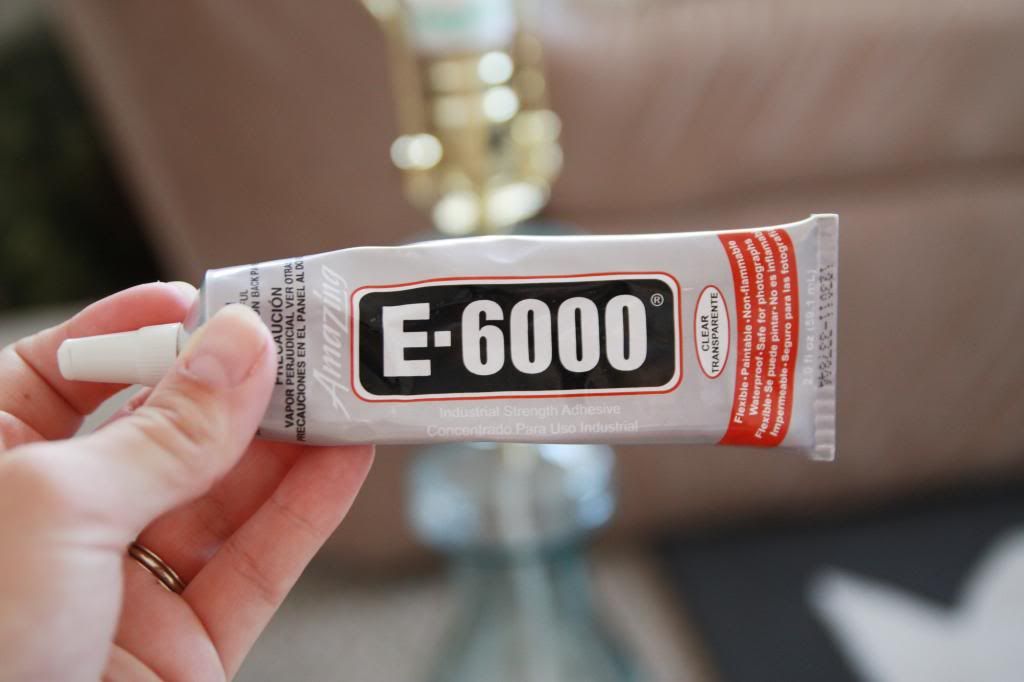
I used E6000 glue to attach the lamp kit to the candle base.
Actually, first we tried using glass epoxy glue, but SOMEONE *coughTIMcough* didn't read the instructions before gooping the stuff everywhere and we had some massive drippage because it never really cured... No amount of scraping or scrubbing seemed to help so I ended up having to plug all the holes in the candlestick, pour an entire bottle of acetone nail polish remover inside {thank you dollar store; acetone or paint thinner is the only thing that will remove epoxy glue}, and let it sit for an entire weekend, rotating the stick occasionally so that the whole inside got treated. Ridiculous.
This was the cleanest we could get it. So, do it right the first time. Go easy on the glue. A little goes a long way. And use the right glue. I ended up going with E6000, and it was perfect.

Every lamp kit is different, but the general idea is the same.

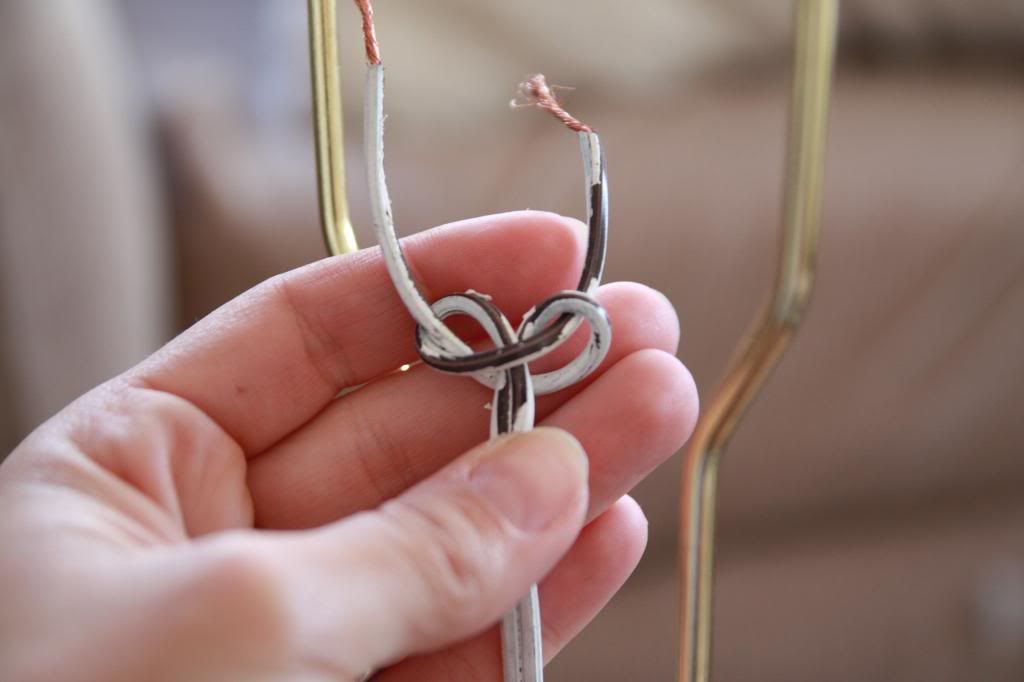
Tie an "underwriter's knot" {above} in the wire poking through the lamp kit before attaching the wires to the bulb socket. Strip the wires about 1/4", and attach the wire with the colored strip or ridge {it will be either-or} to the silver screw. The unmarked wire goes into the other screw.{read your instructions carefully; I'm not responsible if you blow yourself up!}

That's it! Phew! Cookie to those who made it all the way through. And some more eye candy.

I'm absolutely in LOVE with our lamp; it is so much more sophisticated than the $7 ikea standing light we had in there before. #collegeleftovers

There is a Lamps Plus ad on your page for those who give up lol
ReplyDeleteI love how it turns out. It is so adorable. And I guess this conveys the idea that you don’t have to spend much to have a décor. All you need to do is make a little research on DIY projects that seems like the one you really like.
ReplyDeleteWhiteLightProductions.com
I have been on a quest for a sea glass table lamp for the past couple of years. Absolutely refused to pay $200+ per lamp. I am not handy enough to make my own so have relentlessly scoured stores for the right deal. Just last night I totally scored on a pair at Ross that resemble the Arden ones that Ballard used to carry (for $199 each). With nicer tan shades though...for only $50 each. I feel like I struck gold but TJMaxx, Ross & Marshalls are the type of stores where that kind of deal can be had, if you are persistent. I'm so happy today :)
ReplyDeleteI have been on a quest for a sea glass table lamp for the past couple of years. Absolutely refused to pay $200+ per lamp. I am not handy enough to make my own so have relentlessly scoured stores for the right deal. Just last night I totally scored on a pair at Ross that resemble the Arden ones that Ballard used to carry (for $199 each). With nicer tan shades though...for only $50 each. I feel like I struck gold but TJMaxx, Ross & Marshalls are the type of stores where that kind of deal can be had, if you are persistent. I'm so happy today :)
ReplyDeleteI have been on a quest for a sea glass table lamp for the past couple of years. Absolutely refused to pay $200+ per lamp. I am not handy enough to make my own so have relentlessly scoured stores for the right deal. Just last night I totally scored on a pair at Ross that resemble the Arden ones that Ballard used to carry (for $199 each). With nicer tan shades though...for only $50 each. I feel like I struck gold but TJMaxx, Ross & Marshalls are the type of stores where that kind of deal can be had, if you are persistent. I'm so happy today :)
ReplyDelete