

I knew when we got engaged that I wanted to register for a breakfast tray, but couldn't find one that I liked enough. I'm super indecisive. So, it didn't happen.
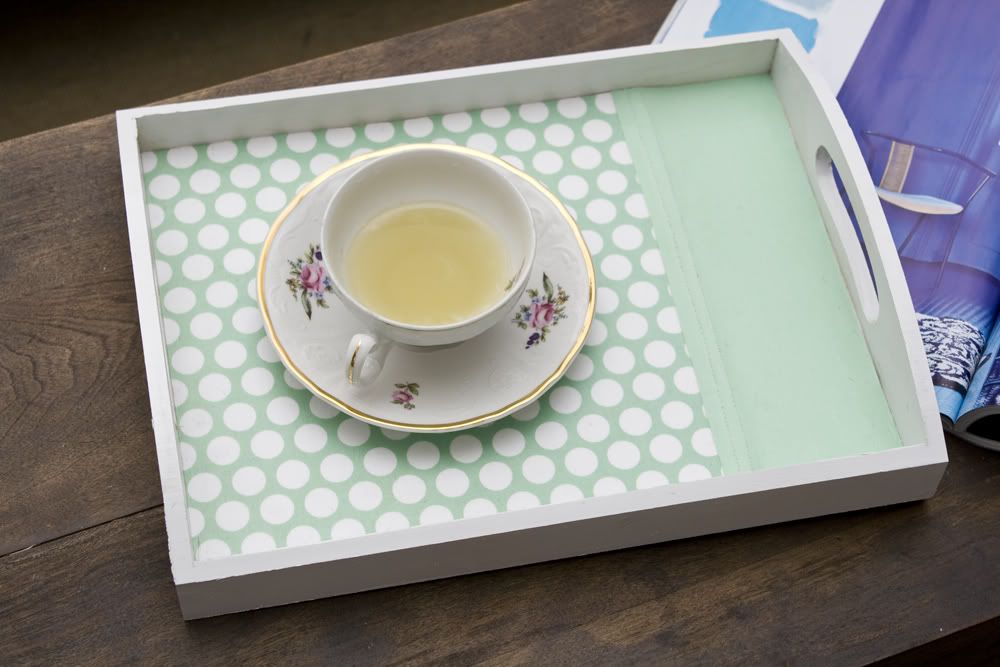
Months later, though, I was browsing in a vintage shop and something called my name from the shelves. It looked something like this:
The only negative thing about it? It was so booooo-ring! I knew I definitely wanted to paint or stain it to be much darker, and probably would line the bottom with something a bit more interesting. But again, my indecisiveness decided to rear its ugly head. I couldn't make up my mind on what I wanted to do!
So I turned to Pinterest for inspiration. There were so many options! I could use almost anything:


Which one did I choose? Well, if you were around a couple months ago , you already know which one I chose:

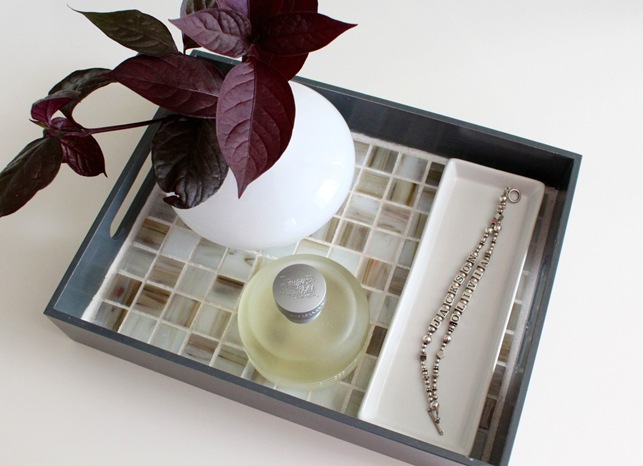
I probably should have stained/painted the tray before I laid the tile, but I was so excited. I slathered some thinset mortar along the bottom of the tray, stuck the tiles in (I got the tiles that came in a sheet--I'd have had never finished it if I had to do each tile one-by-one.), and let them dry overnight. Then, I darkened the wood using some dark wipe-on stain.
 + =
+ =
And that is how it remained for a good five months.
From there, it was just a matter of mixing and applying some grout, but I just never got around to it. Until yesterday!! Since these tiles were made of glass and liable to scratching, I made sure to use non-sanded grout, which I happened to have left over from creating my custom-colored chalkboard paint.


How would you bling out a serving tray? If I didn't have to share mine with Tim, I probably would have covered mine in glitter, but I got vetoed.

That is so beautiful! love it! Makes me want a tray! haha
ReplyDeleteThanks for linking up at the GFC Blog Hop today!!
ReplyDelete