


When I first started working on our master bedroom makeover {months and months ago, as I tend to do}, I knew I wanted to "grow up" the room a bit by adding curtains. Unlike downstairs, though, which was filled with bright and modern patterns, I wanted a more classic and relaxing look for the bedroom. Solid color, lots of texture, and drama!

I fell in love with the Jadeite Chelsea curtains from World Market. The color complemented our duvet cover so well and the burlap fabric was simply delicious, so I purchased them on the spot.
Unfortunately, though, as soon as I brought them home I could tell it wasn't meant to be. Their 84" height kept me from hanging them high and wide around the slider {like we did here}; they hung a pathetic 13" off the ground. Truth be told, I considered hanging them anyway, since they'd be hiding partially behind our dresser, but they really did look sad all flooded like that. So they sat.

A few weeks later, the lightbulb struck. They matched the color of our duvet color so well, and I still had a good three or four yards of the fabric left. I could extend the length of the panel using some of the leftover fabric!
I didn't like the idea of just tacking some fabric at the top or the bottom of the panel, though. I see that on blogs all the time and I'm sorry, but they just scream "HOMEMADE!!!!!" to me. I wanted something a little more professional looking. I would border the new fabric addition with the orginial hem of the curtains--I'd chop them and insert the fabric in between the burlap pieces!

A few chops of the scissors and a hem or two later, I had two completely customized curtains that don't really look homemade unless you get up really close ;)

To do something similar, here's what you'll need:
A set of too-short curtains
fabric cut to the width of the curtains+seam allowance* of whatever length you need**
Pinking shears (regular scissors will work in a pinch)
Sewing machine and Coordinating thread
*the seams on my curtain were 1/2" and I needed to fold my seams in twice, so I'd need an additional 2 inches (1" on both sides) to accommodate it.
**The length of your "patch" fabric will depend on how you wish to attach the fabric. I decided that I would do a modified french seam to encase all raw edges of fabric and burlap. This would add an additional 1.5" to either side, plus another 1" for the seams I'd be losing in the burlap. This meant that I cut a panel of 17" to accommodate my 13" panel and 4" seam allowance!
Step 1
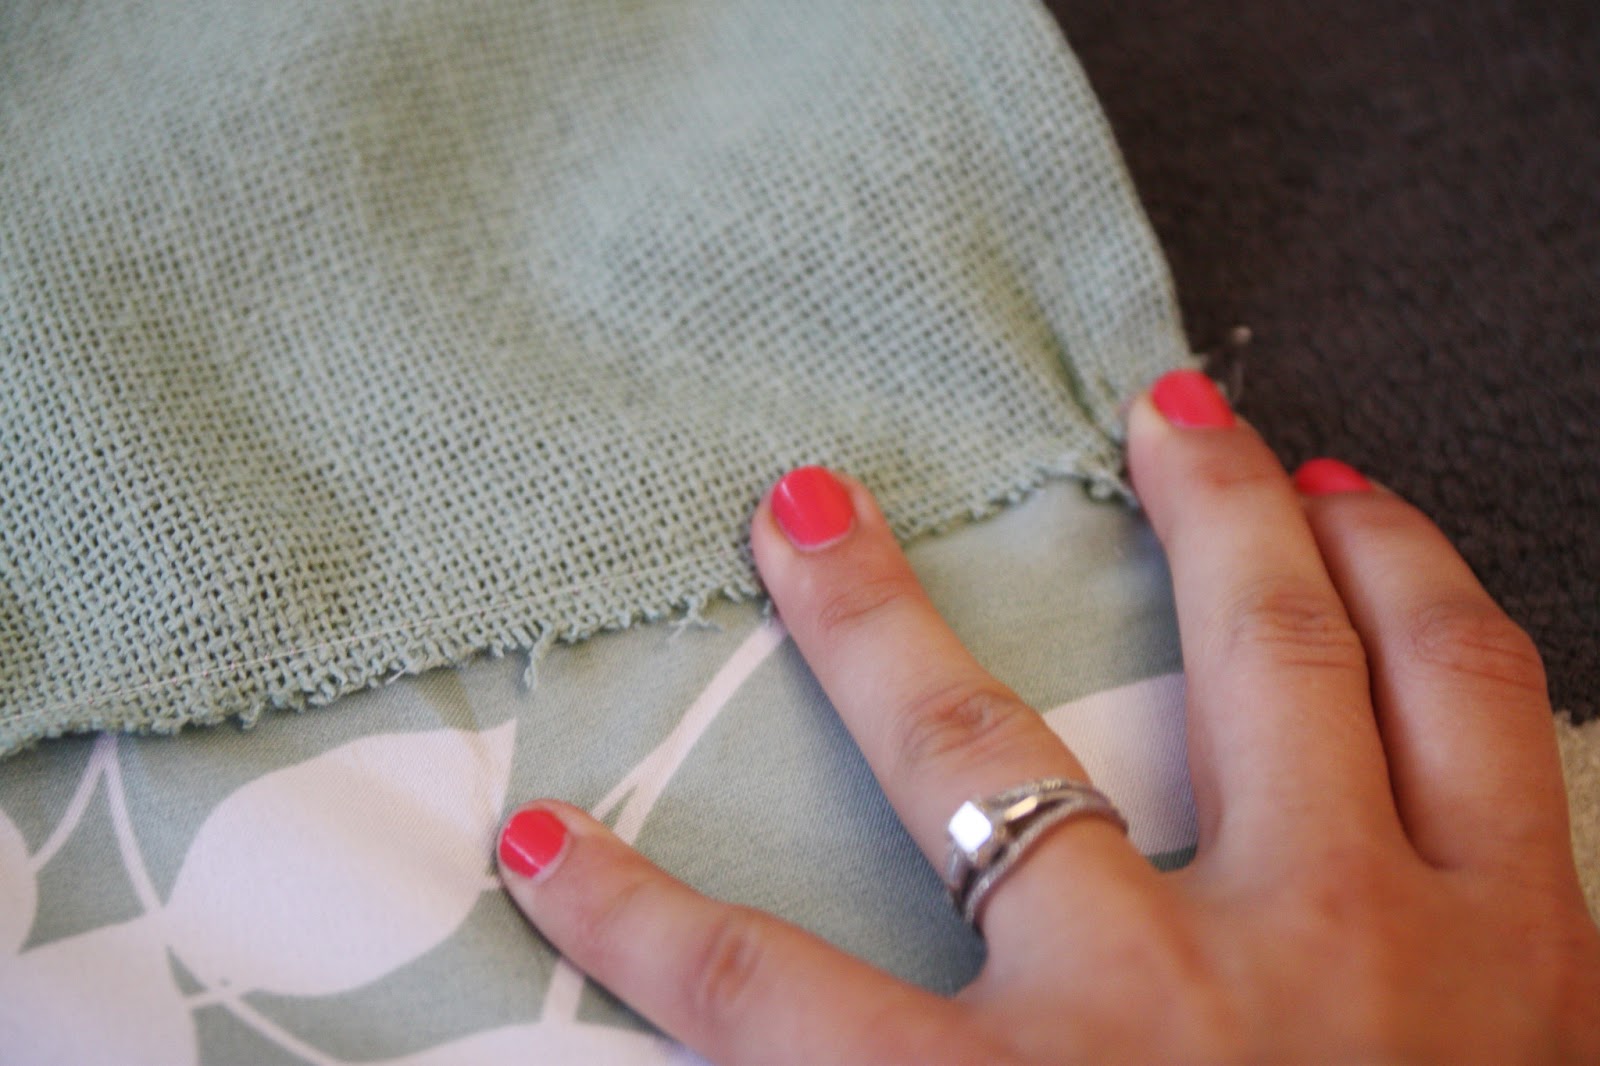
Choose the desired placement for your contrasting stripe of fabric in your curtains. For me, that "sweet spot" fell just eight inches above the hem. Cut your curtain there, adding a 1/2" inch for seam allowance.

Step 2.
Hem the sides of your contrasting fabric, mimicking the hem in your curtain. Fold the fabric over twice and sew.

Pin your fabric to the bottom piece of your curtain, wrong sides together. Sew with a little less than a 1/2" seam allowance {It worked for me to set the fabric in my machine to 1/2" but move the needle a little closer to the edge}.

Step 4. Lay the seam flat. Flip the contrasting fabric over and around the seam so that the pieces are now right sides together, keeping the curtain fabric flat {the contrasting fabric should be doing all the folding}. Iron, pin, and sew.
 |
| lay seam open flat, wrong side down... |
 |
| fold fabric over... |
 |
| then flip the pile, pin, and sew! |

{closeup of the folding process}
This is a modified french seam, which essentially encases all of the raw edges inside a protected seam. While time consuming, it gives an incredibly strong connection between the fabric, and ensures that the fabric will not fray if it goes through the wash.

It also has the benefit of looking a whole heckuva lot more professional than a raw and fraying seam, which is helpful should someone peek at the back of the curtain, too.
Step 5.
Repeat step 3 and 4 to connect the new bottom portion of your curtain to the top.


Tadaaa!


I used clip rings to hang this curtain (the same ones I used downstairs), but this time I used them to faux some pinch-pleats like Sarah from TDC does here. They just look a whole heckuva lot more luxurious that way, don't they?
Timesaving tips:
Work on both curtains at the same time. This allows you to fall into a routine and get the hang of the flipping and folding and ironing and pinning before having to change gears and move onto the next thing. It saved me a ton of time to not have to constantly change gears.
Sew continuously! This is my new favorite tip, and I heard it from a woman who used to sew in a factory for her living. If you're sewing a bunch of individual pieces at the same time, rather than cutting the fabric and starting a whole new thread, start sewing your second piece immediately after the first one. You can cut them apart afterwards. This saves both time and thread, which means you're less likely to have to run out of your bobbin thread in the middle of a project. Genius!


In all, this project took just a couple hours; the longest part was ironing everything so much! I really wanted to do this right, though, so the extra time was worth it.
What do you think? Is this something that you would do in your house? What combination would you choose? So many possibilities!
Love your curtains and they definitely don't scream home-made!!! I really love that huge poster on your wall...what's the scoop on that? Would love to do that for my bedroom...
ReplyDeleteEnjoying your blog as a new follower very much!!!
Tara
Hi Tara! That print is actually the Premiär canvas from Ikea; my husband bought it when he was in college. It's just an aluminum frame with printed canvas stretched across it--might not be too hard to DIY if you have a fun print fabric you like! That's our plan for when we get sick of the city print... which may be never!
DeleteThat is awesome - going to Ikea for a girls trip very soon so will take a look!!
DeleteLove how those curtains turned out! They look perfect in your bedroom. Thanks for sharing! Xo, M&K at brewedtogether.com
ReplyDelete