 |
| Photos from this post |
Thing is, we never got around to narrowing the drawers. It's been like this for a year and a half.
Eventually, we switched up the function of the guest room from TV room to actual guest room, and so the bird moved into our bedroom, and at that point, we'd had it! The extra drawers had been sitting in our bedroom (so much for an oasis space, right??!) and it was TIME! The clutter was stressing us out, and since it had been long enough between the start of the project that I'd forgotten what a pain it was to use wood glue on furniture, I figured it was time to finish this puppy. Time to skinnify up some drawers!
Click to see the tutorial.
The process began with the re-installation of all of the drawer slides and support braces. The drawer slides were supposed to be screwed into place on the front of the dresser, but that would have gone straight through the glue that connected the two halves of the dresser together. Rather than threaten the structural integrity, I glued the slides into place with a dab of Gorilla glue. The back brace was held in place the same way.

Instead of cutting the middle out of each drawer back, we chopped half of the needed width off each side (see right). This left the drawer slide hardware intact, so that when reassembled the drawers would be able to open and close easily while remaining level.
To assemble the new drawers, I started by putting the bottom and sides together, and finished by attaching the backs. This part was hard to photograph since I was doing this by myself, forgive the crooked pictures! Because I took the drawers apart carefully, the grooves to hold the back and bottom were still intact, so a little glue inside the groove kept the pieces secure enough to start.
I also reinforced each line of glue with a small finishing nail, to make sure the pieces were attached firmly.
Once the glue was dried and the drawers could be handled without falling apart, I filled in the cracks and holes in the front with wood filler.
I made a really wonky cut on one of the drawers unfortunately, so there was a fairly large gap to fill on that one. Since it would take a lot of putty to fill that all the way up, I slid a few spare pieces of wood inside the crack to partially fill it, then puttied around the pieces.
I made sure to put in more putty than it seemed would be necessary, because it was easier to sand it all down than have to re-fill them again.
When the putty was dry, a quick pass of the belt sander made the drawer fronts smooth as a baby's bottom! (an orbital sander or regular sandpaper is fine too, it just would take longer). And that's it!
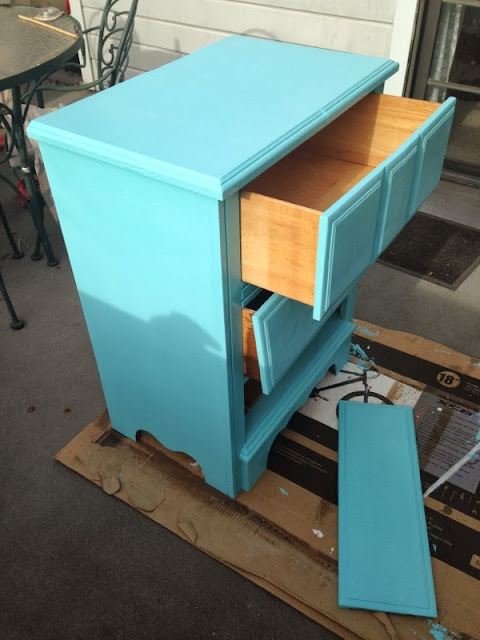
I did all the drawers the same way save the bottom one. I wanted a spot for my printer, and decided that just the drawer face was necessary in that case. :).
 |
| 2 coats primer, 3 coats color. Brush strokes are nearly invisible. |
 |
| A few coats of spray poly later...... and it's done! |
With that, the dresser was {mostly} finished! The bottom drawer still needs to be attached to the unit with a set of hinges, which I'll tackle at another time. Hopefully, sooner than a year and a half from now!


The dresser has taken residence downstairs in our living room. The pop of teal beneath the TV plays well with the colors we have in there already, and it ties in our custom-colored DIY chalkboard that's done in the same color (even though you it doesn't look the same color in this photo, I promise it is!)
We love the dresser in its new spot with the bright solid paint job and spiffy knobs. The drawers hold a LOT, which is nice to corral extra candles and remotes. Because that's pretty much all that we need in a living room, right? Not to mention the secret hiding spot for the printer, the door to which will *someday* be attached...


No comments:
Post a Comment
Thanks for your lovely comments!
Anonymous comments will be automatically rejected, so please use the name/URL option if you don't have a blog.
If you do have a blog, please check to make sure your email is linked to your profile so I can respond to your comments! Follow this simple tutorial to make sure!